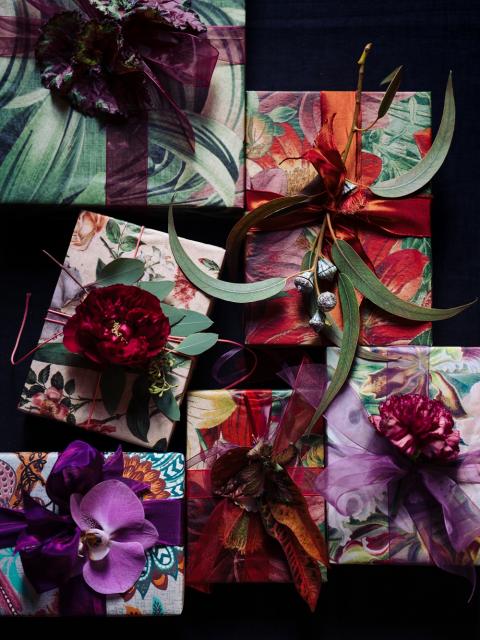
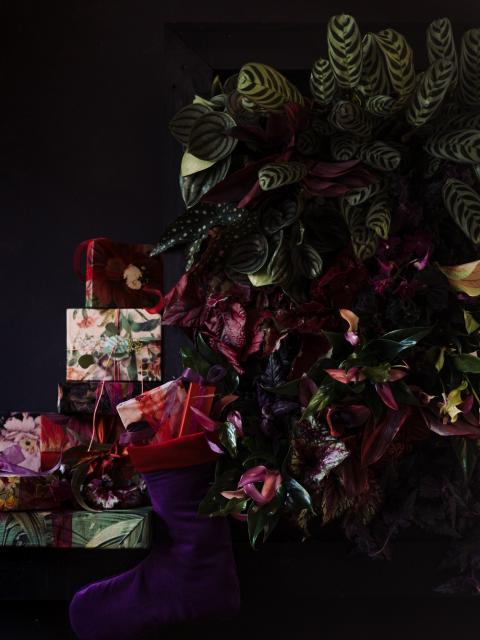
Don't wrap your presents with paper, but with fabric. Let us show you step by step how to wrap your gifts in a natural, stylish and sustainable way.
Find the perfect leaves
Good preparation is half the battle, so go ahead and search your house for plants with the most beautiful leaves when you're preparing to make your gift wrapping fabric. If you can't find anything suitable, head to your local florist to pick up a houseplant or two with gorgeous greenery. Bear in mind what the leaves will look like once their design is transferred onto the fabric. Now let's gather our supplies and get to work.
You will need
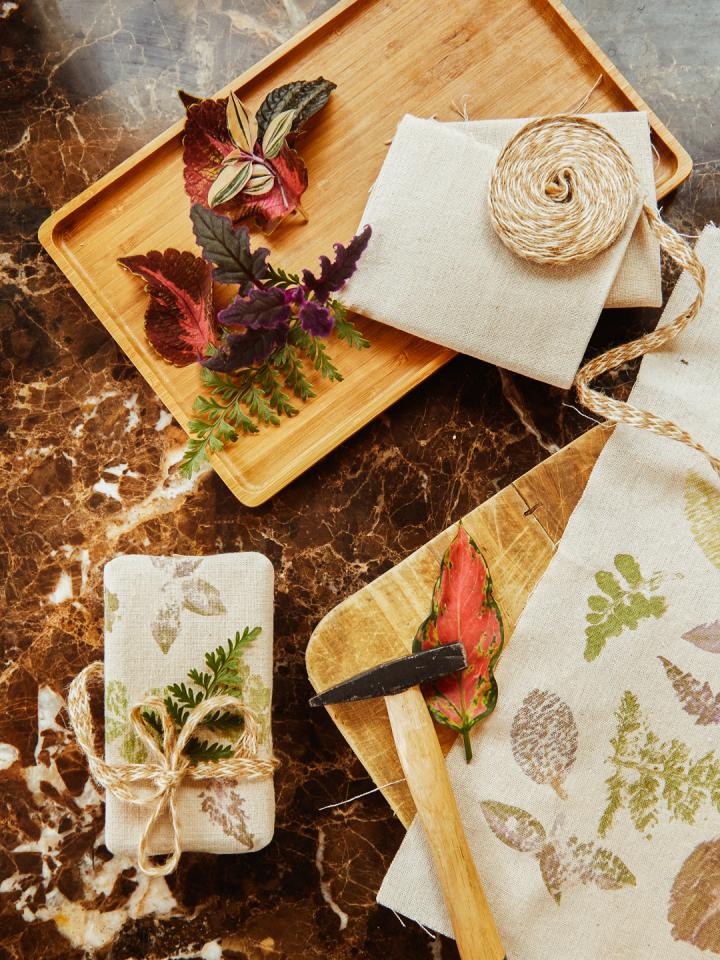
- Leaves from different plants. We used Fittonia, Aglaonema, Umbrella tree, Plectranthus, Pilea, Gynura and Ferns*. Hot tip: you can use leaves from any plant, but it's best to alternate between using thin and thick leaves. Thick leaves contain more moisture, which makes it harder to get a good print from them.
- Fabric of your choice (use a cloth, scarf, or other piece of fabric that can serve as gift wrap).
- Hammer
- Kitchen paper
- A gift (for wrapping)
- Twine or string (to wrap the gift)
- Fresh leaves/sprigs (to decorate the wrapped present)
How to make your plant-printed fabric gift wrap
Step 1
Collect all the leaves you want to use and decide roughly on the design of your wrapping fabric. Which leaf will go where? Design a pattern of your choice.
Tip: first test a few leaves on another piece of fabric before starting on your real canvas. This gives you an idea of the effect of hitting the fabric with the hammer, and how different leaves will look.
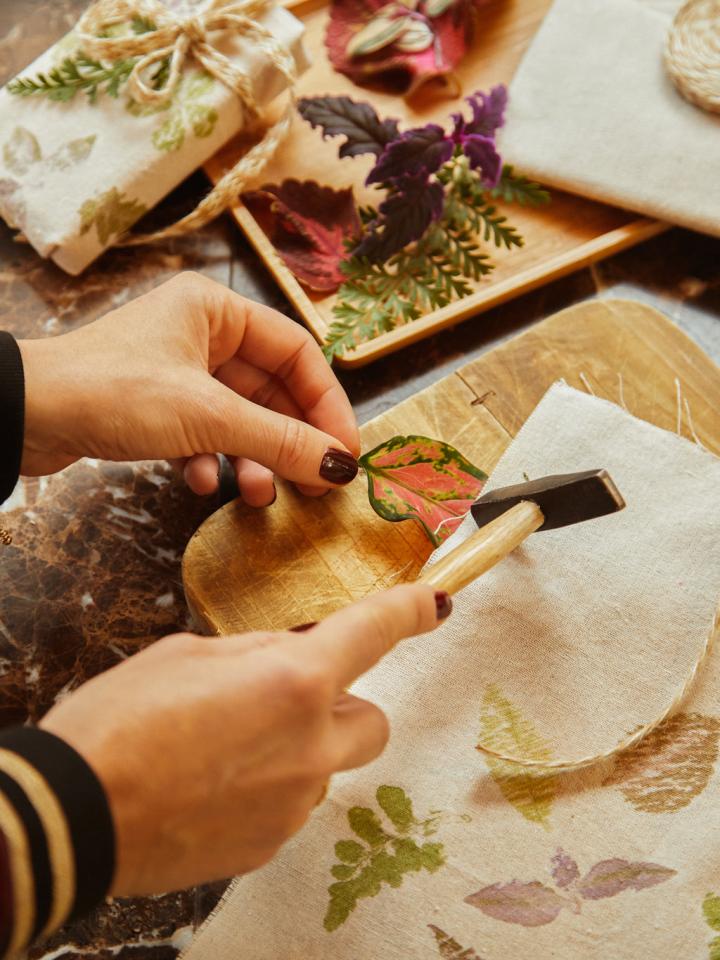
Step 2
Sandwich the textile and a leaf of your choice between two pieces of kitchen paper. The order of the layers from bottom to top is as follows: kitchen paper, fabric, leaf then kitchen paper. Repeatedly hammer the kitchen paper (and therefore also the leaf underneath it) until you see a nice print of the leaf. Repeat this step with different leaves until you have achieved the desired result and are happy with your pattern.
Patience is a virtue! It takes a bit of experimenting and with some plants, for example the Aglaonema it takes a bit more hammering before the print becomes clearly visible.
Step 3
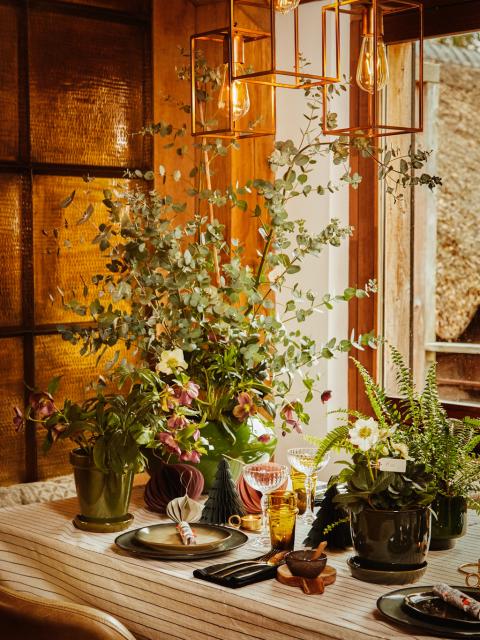
Ready to go? it's time to wrap it up! Wrap your present with the fabric gift wrap textile and add some fresh leaves and/or twigs on top for an extra green touch. Have fun giving!
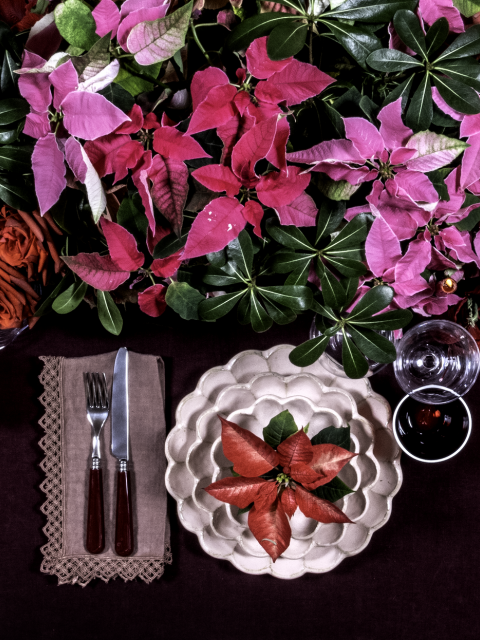
MORE GREEN INSPIRATION
Looking for more creative Valentine's Day gift ideas? Then discover this green plant bouquet , or surprise your loved one with a botanical plant picnic. For a daily dose of inspiration, follow us on Pinterest, Instagram and Facebook.


-Vl6RMsNo.jpg)